A lot of times working in development, you inherit code and never get the benefit of learning how things are configured and/or setup. You just follow the patterns that are already presented within the code base. But a while back, I worked with a developer who taught me the value of taking the time to learn to configure things on my own. You learn so much more when you understand how things work from scratch.
Even though there are many cheap hosting sites out there, I still have some test web site projects that I setup on my own personal web server. To get started, you just need to register a new domain name with a registration service like namecheap and have a computer with IIS installed to use as your server.
Configuring A record
After registering your domain with your DNS provider, create an A record that resolves to your public IP address. You can find out what your public IP address is whats my ip
Example configuration with namecheap

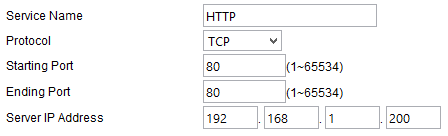
Port Forwarding
Depending on your setup, you may need to configure your router to forward port 80. This will forward all incoming web traffic to your private server IP address.
Host Binding
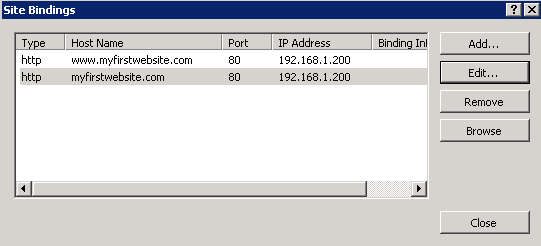
Since I only have one IP address to allocate to my web server, I will configure using host names to differentiate each site from each other.
My first website bindings
My other website bindings
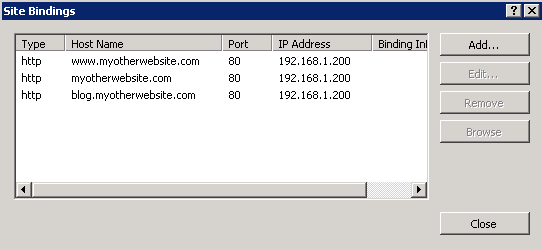
As you can see, it’s fairly easy to setup your own simple web server hosting multiple websites.
Please be aware that there are some common issues with ISP’s or firewalls blocking ports. You can check what ports you have open using some online tools such as the Open Port Check Tool.
References: How to Set Up Site Bindings in Internet Information Services (IIS)
Speak Your Mind